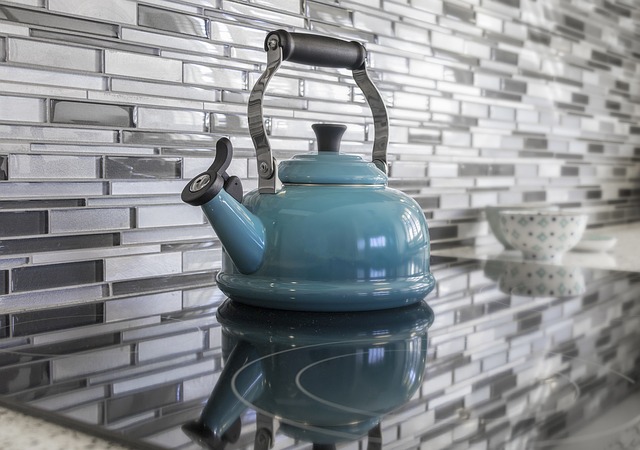
Beautiful Kitchen
Tiling a backsplash is commonly done in the kitchen and bathrooms. One can choose from the beautiful ceramic tiles available and this would include the easy to fix mosaic tiles.
Materials and Tools
- Mosaic Tiles
- Sheets
- Mastic Adhesive
- Grout Sealer
- Premium Grout
- Trowel
- Utility knife
- Tape Measure
- Extenders
- Grout Float

Step by step procedure on how to tile a backsplash (in the Kitchen)
Step 1: Prepare the Walls
Clean up the walls by wiping using a sponge dipped in a dish with washing liquid and water mixture. If the stains prove to be adamant, use paint de-glosser or abrasive pad. Then turn off power outlets and remove their cover plates. Use extenders and cut tile to fit around them then remove them later for grouting once done.
Measure from counter-top backsplash to the bottom, three to four full rows of tile and make a mark. This is meant to avoid cutting the tiles. You will start installing the tiles in the area between the range and the vent-hood which is usually the largest.
Step 2: Tile Setting
Starting at the center-line, use a trowel to scoop and spread a thin layer of mastic adhesive. Repeat this for only two or three sheets so that the mastic adhesive does not dry up. Ensure that you have a sponge and a bucket of water to keep on cleaning the trowel so that the mastic does not harden on it. Remember to place plastic tile spacers on the counter-top to leave a gap. This will ensure that the tiles do not sit on the counter-top directly.
Align the first tile sheet directly over the spacers, with the center-line. Press it with your hand onto the wall. Note that if the sheet slides, you have used very think mastic adhesive. It is advisable that you scrape off some of it and re-trowel. Use a utility knife to remove mastic adhesive in the joints. If the tiles fall off, add a little mastic on the back and stick it back to its place.
Step 3: Cut tiles to fit at the edges
You can use a utility knife to cut mesh backing and fit the tile sheets at around outlets and under the upper cabinets. You can as well use a wet saw to cut the tile. Install the sheet next in the cabinet or around the outlet. In order to fill the gaps, cut tiles with a wet saw. Remember to cut the tiles while still attached to the sheet. Allow the tiles to sit for around 30 minutes. Apply a grout sealer which helps in keeping the group from sticking to the tile. Wipe the tiles to dampen them using sealer on a sponge.

Step 4: Clean the tile by grouting
Wait for around 24 hours to add grout after installing the tiles. Remember to use a premium grout float to push it into the joints. Move the float diagonally across the tile to remove excess grout. After 10 minutes, wipe the grout from the tiles’ surface until clean, using a damp sponge. After cleaning, use a utility knife to remove the excess grout on the joints. Two hours after grouting, use a microfiber cloth to wipe the haze from the tiles. After seven days, use a grout sealer to protect the grout from stains.
And that is how to make your kitchen look awesome! If you have any questions please contact us. If you have any awesome tips, please submit those as well.
